· react · 8 min read
Building a Simple A/B Testing Hook in React
Stop paying for expensive A/B testing tools. This custom React hook gives you everything you need for effective experimentation with zero external dependencies.
Neciu Dan
Hi there, it's Dan, a technical co-founder of an ed-tech startup, internation speaker and Staff Software Engineer, I'm here to share insights on combining
technology and education to solve real problems.
I write about startup challenges, tech innovations, and the Frontend Development.
Subscribe to join me on this journey of transforming education through technology. Want to discuss
Tech, Frontend or Startup life? Let's connect.
Building Software and Products is sometimes a guessing game. You think you can improve your current users flow by skipping a step in the checkout process only to find that orders actually went down after your change.
The behavior of users is sometimes baffling, absurd and more ofthen than not can drive you up the wall.
So what can we do? Product Models suggest you talk to users, gather feedback, run discovery sessions where they play around with prototypes and this give you the confidence you need to build something.
But is this enough? There are thousands of decisions that can affect the end result of a feature. Some can be tiny like the position of button, some can be huge like skipping addresses in payment forms bust most would balance somewhere in the middle and you want to know if the feature will improve your product, because percentages matter.
When dealing with milions of users, that use your product daily and you have just 1% loss in conversion that can cost your company a serious amount of money.
Here is where A/B testing comes in.
History of A/B Testing
A/B testing (sometimes called split testing) lets you compare two or more versions of a UI to see which one performs better with real users. Instead of guessing which design will convert better, you can know for sure.
<! Add Here how the first A/B Test was created !>
<! Explain how it works mathematically with statistics, control group, how can a result be statistically significant and about canibilization of features
How do we do it?
All of that is well and good in theory, but how do we implement it our apps?
In my previous companies we where doing it using two methods:
- Using Feature Toggles and Feature Toggle Experiments
- Using Google tag manager
Feature Toggle Way
In our backoffice or admin interface we could create feature toggles like CHECKOUT_ADDRESS_ENABLED and mark it as true, when a user entered our app the first call was to /feature-toggles which returned all the available tags. Then in the frontend application we just did
if(ft.CHECKOUT_ADDRESS_ENABLED) {
  <CheckoutAddress />
}
The magic happened in a experiments microservice, where we can create an experiment using the feature toggles declared in backoffice, we can split the variants as we wanted and it used a unique identifier for a user: The userID if the user was returning or a generated UUID if the user was new.
This microservice owned the data returned by /feature-toggles endpoint, so for variant A users it returned CHECKOUT_ADDRESS_ENABLED as true and for variant B users it returned it as false.
Conversion analysis was then handled by Data Analyst usually after an experiment ran for more than a month.
We also tried to run just one experiment per month / per app / per user persona to avoid canibilazation(?sp)
This solution worked but requires significant effort to setup and build the infrastructure for it.
Google Tag Manager
<! Add Here how we did at Adoreme !>
Custom Implementation over 3rd party products
When I started looking for A/B testing solutions for our React application, I found myself drowning in complex, expensive options:
- Third-party services: Most cost $300-500/month with features we’d rarely use
- Complex integrations: Many required backend changes or special analytics setup
- Vendor lock-in: Once you commit to a testing platform, migration becomes painful
For simple UI experiments, these solutions felt like overkill. We needed something lightweight that would:
- Consistently assign users to variants
- Track impressions and conversions
- Work with our existing analytics
- Not require any backend changes
useExperiment
After an afternoon of coding, I built a custom React hook that handles all our A/B testing needs in under 100 lines of code.
Here’s the complete implementation:
import { useState, useEffect } from 'react';

type ExperimentOptions = {
  variants: string[];
  weights?: number[]; // Percentage for each variant
  userIdSource?: () => string; // Get unique user ID
  analyticsCallback?: (event: string, data: any) => void;
};

export function useExperiment(experimentId: string, options: ExperimentOptions) {
  const {
    variants,
    weights = variants.map(() => 100 / variants.length),
    userIdSource = () => localStorage.getItem('userId') || crypto.randomUUID(),
    analyticsCallback = (event, data) => {
      // Default implementation - replace with your analytics
      console.log('Analytics event:', event, data);

      // Example GA4 integration
      if (window.gtag) {
        window.gtag('event', event, data);
      }
    }
  } = options;

  // Get or create persistent user ID
  const [userId] = useState(() => {
    const existingId = localStorage.getItem('userId');
    if (existingId) return existingId;

    const newId = crypto.randomUUID();
    localStorage.setItem('userId', newId);
    return newId;
  });

  // Get or assign variant
  const [variant, setVariant] = useState<string>(() => {
    // Check if user already has assigned variant
    const storageKey = `exp_${experimentId}`;
    const storedVariant = localStorage.getItem(storageKey);

    if (storedVariant && variants.includes(storedVariant)) {
      return storedVariant;
    }

    // Assign new variant based on hash of userId + experimentId
    const hash = hashCode(userId + experimentId);
    const normalizedHash = Math.abs(hash) % 100; // 0-99

    // Select variant based on weights
    let cumulativeWeight = 0;
    const selectedVariant = variants.find((_, index) => {
      cumulativeWeight += weights[index];
      return normalizedHash < cumulativeWeight;
    }) || variants[0]; // Fallback to first variant

    // Store assignment
    localStorage.setItem(storageKey, selectedVariant);
    return selectedVariant;
  });

  // Log experiment view
  useEffect(() => {
    analyticsCallback('experiment_view', {
      experiment_id: experimentId,
      variant,
      user_id: userId
    });
  }, [experimentId, variant, userId]);

  // Log conversion
  const logConversion = (conversionType: string) => {
    analyticsCallback('experiment_conversion', {
      experiment_id: experimentId,
      variant,
      user_id: userId,
      conversion_type: conversionType
    });
  };

  return { variant, logConversion };
}

// Helper function to generate consistent hash from string
function hashCode(str: string): number {
  let hash = 0;
  for (let i = 0; i < str.length; i++) {
    hash = ((hash << 5) - hash) + str.charCodeAt(i);
    hash |= 0; // Convert to 32bit integer
  }
  return hash;
}
How it works
The useExperiment hook performs several key functions:
- User identification: It creates or retrieves a unique ID for each user, stored in localStorage
- Consistent assignment: Using a hash function, it deterministically assigns users to variants based on their ID + experiment name
- Persistence: It stores the variant assignment in localStorage so users see the same experience across visits
- Weighted distribution: You can assign different percentages to each variant (e.g., 90% see control, 10% see new version)
- Analytics integration: It automatically logs impressions and lets you track conversions
Using the hook in your components
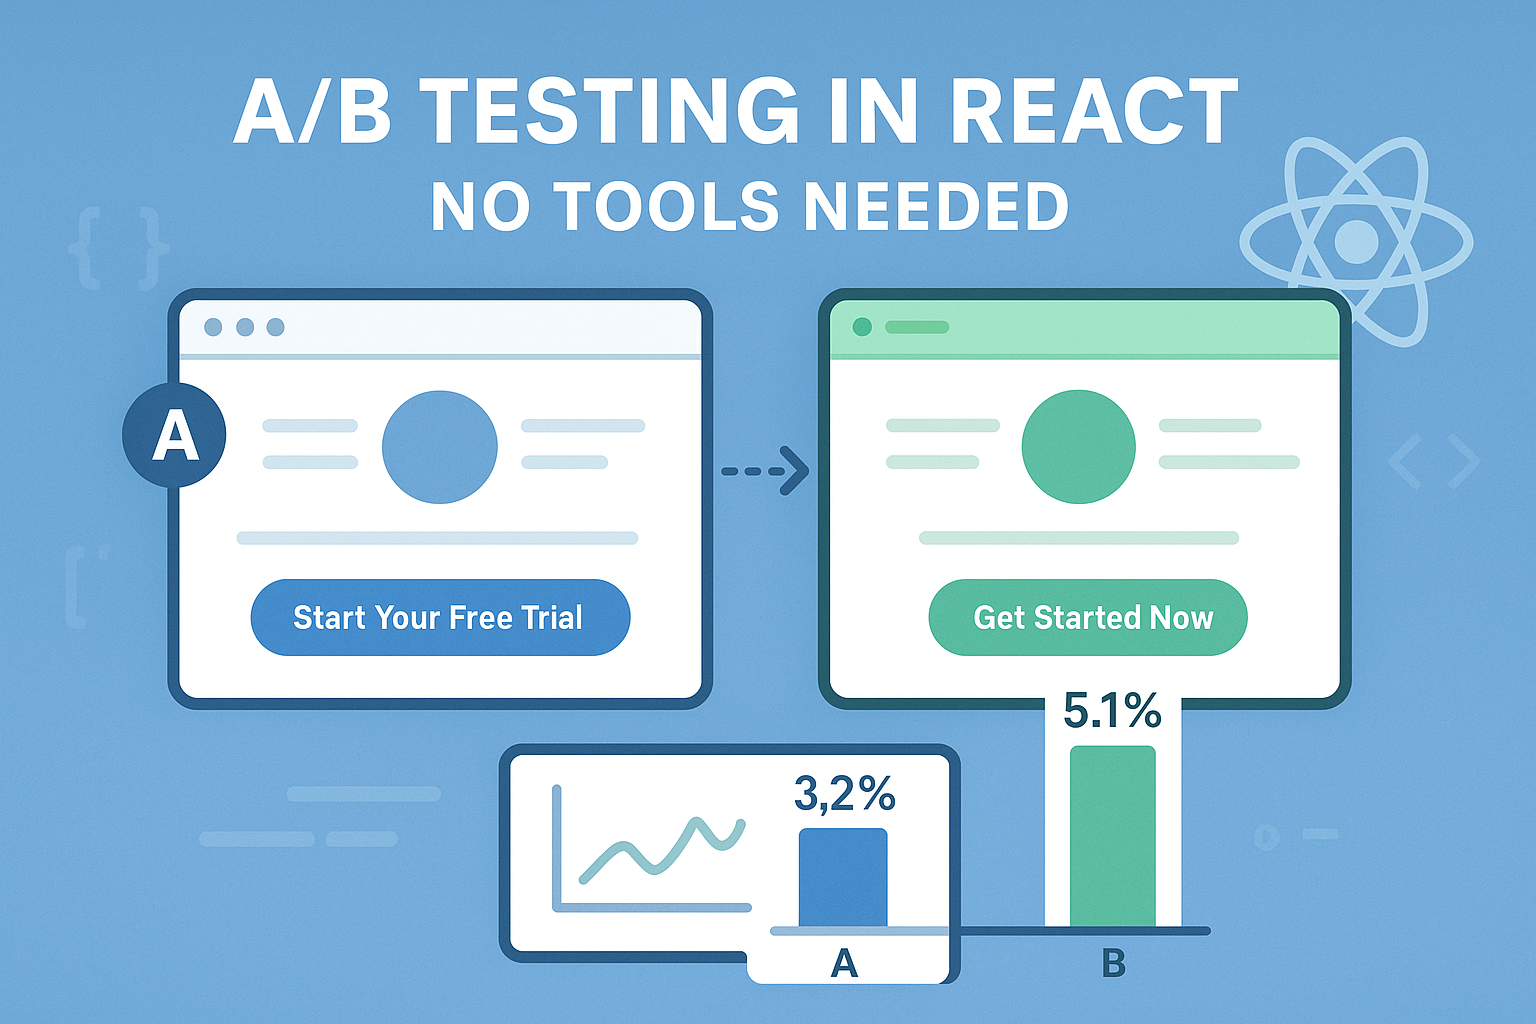
Implementing an A/B test is incredibly straightforward. Here’s a complete example:
import React from 'react';
import { useExperiment } from './useExperiment';

// Original layout component
function OriginalLayout({ onConvert }) {
  return (
    <div className="container original">
      <h1>Welcome to Our Product</h1>
      <p>The fastest way to build amazing web applications.</p>
      <button
        className="cta-button blue"
        onClick={onConvert}
      >
        Start Your Free Trial
      </button>
    </div>
  );
}

// New layout component being tested
function RedesignedLayout({ onConvert }) {
  return (
    <div className="container redesign">
      <h1>Build Better Apps, Faster</h1>
      <p>Join 10,000+ developers who ship with confidence.</p>
      <button
        className="cta-button green"
        onClick={onConvert}
      >
        Get Started Now
      </button>
    </div>
  );
}

// Feature page that implements the experiment
export function FeaturePage() {
  const { variant, logConversion } = useExperiment('landing-page-redesign', {
    variants: ['original', 'redesign'],
    weights: [50, 50]  // 50/50 split
  });

  const handleConversion = () => {
    // Your normal conversion handling
    console.log('User clicked the CTA');

    // Log the conversion for the experiment
    logConversion('signup_click');
  };

  return (
    <div>
      {variant === 'original' ? (
        <OriginalLayout onConvert={handleConversion} />
      ) : (
        <RedesignedLayout onConvert={handleConversion} />
      )}
    </div>
  );
}
That’s all there is to it! You’re now running a complete A/B test without any external tools.
Customizing for your needs
The hook is designed to be flexible enough to work with various analytics setups. Here are some customization options:
Custom analytics integration
You can connect to any analytics service by providing an analyticsCallback:
const { variant, logConversion } = useExperiment('feature-test', {
  variants: ['control', 'variant-a', 'variant-b'],
  weights: [33, 33, 34],
  analyticsCallback: (event, data) => {
    // Send to your analytics platform
    mixpanel.track(event, data);
  }
});
Custom user identification
If you already have user IDs from authentication:
const { variant } = useExperiment('pricing-test', {
  variants: ['current', 'new'],
  userIdSource: () => currentUser.id || localStorage.getItem('userId') || crypto.randomUUID()
});
Analyzing results
Since the hook logs consistent events to your analytics platform, you can analyze results using your existing tools. The events include:
experiment_view- Logged when a user sees a variantexperiment_conversion- Logged when a user completes a conversion action
In your analytics platform, you can:
- Create segments based on the experiment ID and variant
- Compare conversion rates between variants
- Determine statistical significance using chi-square tests
Benefits over third-party tools
This lightweight approach has several advantages:
- No cost: Save hundreds of dollars per month
- Zero dependencies: No external scripts slowing down your app
- Privacy-friendly: All data stays within your existing analytics
- Complete control: Customize everything to your specific needs
- No backend changes: Everything works client-side
While this hook works for most use cases, you might need a more robust solution if:
- You need sophisticated multivariate testing (testing many variables simultaneously)
- You require advanced statistical analysis built into your testing platform
- You’re conducting tests across multiple platforms (web, mobile apps, emails)